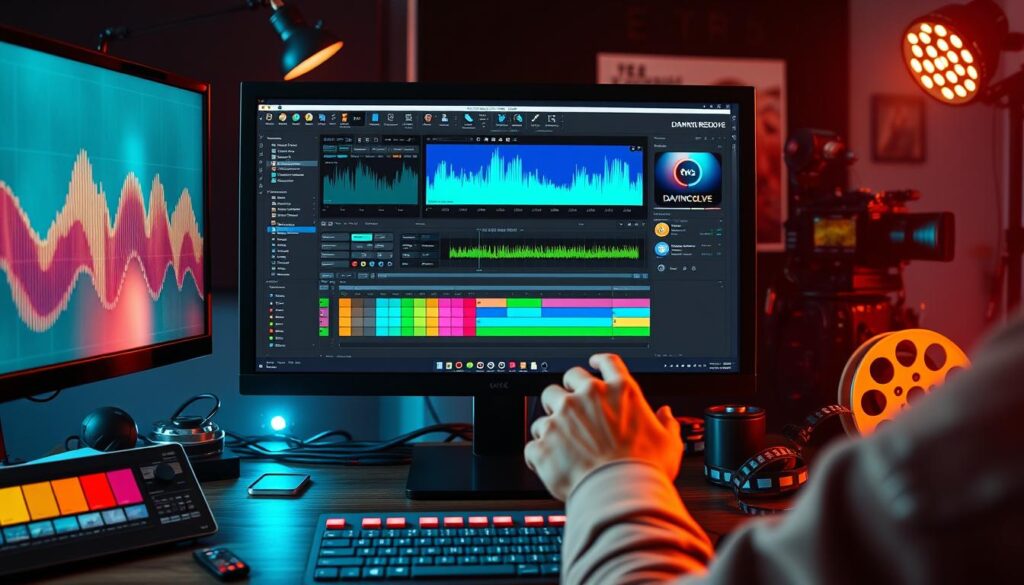
In the world of video editing, DaVinci Resolve effects are key for creative projects. They are powerful whether you’re beginning or have lots of experience. These tools help make your work stand out.
With color grading, visual effects (VFX), and motion graphics, your raw footage becomes something special. DaVinci Resolve has it all to turn your videos into polished masterpieces. Using these effects well can boost storytelling and keep viewers hooked.
Table of Contents
ToggleKey Takeaways
- DaVinci Resolve effects significantly improve the overall quality of video editing projects.
- Effective color grading is essential for creating the desired mood and tone.
- Visual effects (VFX) can enhance storytelling and viewer engagement.
- Motion graphics are crucial for modern video content, helping to convey complex messages simply.
- Mastering these tools can benefit both novice and experienced video editors alike.
Introduction to Video Editing with DaVinci Resolve
Video editing turns raw footage into finished work. It’s vital for anyone eager to succeed in video making. DaVinci Resolve merges high-tech features with a simple interface. It suits both beginners and experts.
The story of DaVinci Resolve began with color grading. It has grown into a top-notch video editing tool. It stands out for its ability to work with many file types. This flexibility is great for filmmakers and content creators.
DaVinci Resolve is also easy to get into. Its free version attracts students and independent filmmakers. It opens doors in video editing without the usual high costs.
Mastering DaVinci Resolve can significantly aid your video production. It prepares you to thrive in a field that’s getting more competitive.
Understanding the Importance of Effects in Video Editing
Effects in video editing are crucial. They enhance the visuals, draw in the audience, and improve the storytelling. By using various effects, editors can turn simple clips into exciting stories.
Effects have many uses. They can create seamless transitions or add overlays. Each effect changes the look and feel of the video. For example, transitions can help move smoothly between scenes. Overlays add depth and emphasize important parts of the story.
High-quality effects make content look professional. Nowadays, viewers expect high-quality visuals. Using effects well can make stories more engaging. Mastering video effects is essential for filmmakers who want to stand out.
Getting Started with DaVinci Resolve Effects
Starting with DaVinci Resolve is an exciting journey into the world of video editing. This software gives you powerful tools and effects to make your projects stand out. To get started, follow some simple steps to install and set up the software. This leads to a great user experience.
Installing and Setting Up DaVinci Resolve
First, make sure your system can run DaVinci Resolve. Follow these essential steps to install:
- Download the software from the official DaVinci Resolve website.
- Run the installer and follow the on-screen prompts. You will choose where to install it and agree to the terms.
- Complete the setup by opening the software after it installs.
Following these steps ensures your video editing software is set up correctly.
Exploring the User Interface
After installation, get to know the user interface of DaVinci Resolve. The layout allows easy access to tools and effects. Take note of these important areas:
- Media Pool – Shows all the media files you’ve imported for your project.
- Timeline – Here, you arrange your clips and apply effects.
- Inspector Panel – Adjust things like position and scale for each clip.
- Effects Library – Offers a variety of effects to improve your videos.
As you use these features, working with DaVinci Resolve becomes easy. This freedom lets you be more creative with your video projects.
| Feature | Description |
|---|---|
| Media Pool | Store and manage all media files. |
| Timeline | Organize clips and apply transitions. |
| Inspector Panel | Control clip properties and effects. |
| Effects Library | Access various video effects and transitions. |
Getting to know the layout helps in navigating easily. This makes editing both efficient and fun. Happy editing!
Color Grading Techniques in DaVinci Resolve
Color grading is crucial for a professional video look. In DaVinci Resolve, many methods help improve your project’s story visually. We’ll start with basic color correction and move to more advanced techniques for creative effects.
Basic Color Correction
Color correction sets a video’s visual tone. It adjusts exposure, contrast, and saturation to make videos look their best. DaVinci Resolve offers easy-to-use tools for these changes. Here’s what to focus on:
- Exposure: Change brightness to prevent frames from being too dark or light.
- Contrast: Boost the difference between light and dark for more depth.
- Saturation: Alter color intensity for a vivid or subdued appearance.
Advanced Color Grading Tips
After mastering basic correction, try advanced color grading to enhance your videos. DaVinci Resolve has curves, color wheels, and LUTs for artistic choices. Here are techniques to try:
- Curves: Adjust tonal range and color for specific effects.
- Color Wheels: Fine-tune shadows, midtones, and highlights for detailed adjustments.
- LUTs: Apply pre-set styles and moods fast with these settings.

Using Fusion Effects for Creative Visuals
Fusion in DaVinci Resolve is a strong tool for video editors and motion graphic designers. It helps create eye-catching and advanced visual effects. The basics of Fusion show how its node-based interface boosts creative visuals. It also makes making dynamic motion graphics easier.
Introduction to Fusion in DaVinci Resolve
Fusion offers a wide range of features through an intuitive node system. Each node does something different, like merging layers or adding effects. This adds flexibility and creativity to the editing work. Knowing how to use this interface lets you make amazing fusion effects. These can greatly improve video quality.
Creating Motion Graphics with Fusion Effects
Using Fusion effects opens up endless possibilities for motion graphics. You can animate text, use transitions, and create complex overlays that capture the audience’s attention. Below are steps to make powerful motion graphics:
- Start with a Concept: Plan your project’s vision. Think about how fusion effects can meet your storytelling needs.
- Utilize Built-in Templates: DaVinci Resolve has many ready-made elements to speed up creating motion graphics.
- Animate Dynamically: Bring elements to life with keyframes. Make sure they match the music’s rhythm.
- Experiment with Compositing: Combine different visuals. Adjust their settings for a striking, professional look.
With creativity and the right techniques, you can make amazing motion graphics. Learning about Fusion’s features opens the door to limitless creativity.
Leveraging Node-Based Compositing
Node-based compositing in DaVinci Resolve offers a dynamic way to craft complex visual effects. This method gives detailed control, making it easier to create intricate visuals. It’s key to understand nodes to fully use their power in your projects.
Understanding Nodes and Their Functions
Nodes are the heart of compositing, acting as building blocks for effects and adjustments. Each one can stand for a different effect, laying out a clear path for your workflow. They perform key functions like:
- Input: Importing files or footage.
- Adjustment: Modifying color, effects, or other parameters.
- Output: Sending the final composition to the viewer or exporting it.
This approach broadens your creative options, simplifying the complex. It helps you manage tasks easily, boosting creativity in your editing process.
Building Complex Compositions
Creating compositions with node-based setups leads to deeper, more creative workflows. Here are some tips:
- Start with basic nodes for foundational elements.
- Layer additional nodes for effects like blurs or color corrections.
- Utilize merge nodes to blend various elements smoothly.
- Group nodes to keep things tidy in complex projects.
- Experiment bypassing some nodes to preview adjustments instantly.
This approach helps lay a solid foundation for impressive visual effects. The way you arrange nodes impacts the final look, giving you insight into your creative decisions.
Mastering node-based compositing can take your video projects to a new level. Let the versatility of nodes inspire your creativity in DaVinci Resolve.
Applying VFX in Your Projects
Adding VFX to your videos can make them much more exciting and story-rich. Many visual effects techniques can turn simple scenes into awesome moments. They grab the viewer’s attention with amazing images. It’s key to know these VFX methods well to mix them right into your videos.
Common VFX Techniques
Getting good with popular VFX methods can really boost your projects. Here’s a look at some common ones:
- 3D Animations: Adds depth and makes scenes come alive.
- Particle Effects: Great for creating things like smoke, fire, or blasts.
- Compositing: Combines different visuals for complex designs.
- Motion Tracking: Keeps VFX in line with moving parts in the video.
Integrating VFX with Live Action Footage
Mixing VFX well with real footage is key for a smooth final look. Keep these steps in mind:
- Make sure the lighting is the same for VFX and real scenes.
- Tweak colors so everything blends well together.
- Use motion tracking to make sure VFX moves with your footage.
- Play with layers to get your scenes to look right and realistic.
Getting good at using VFX can take your video projects to the next level. While it takes practice, the stunning visuals you can create are worth it. This way, you’ll make videos that truly draw people in.
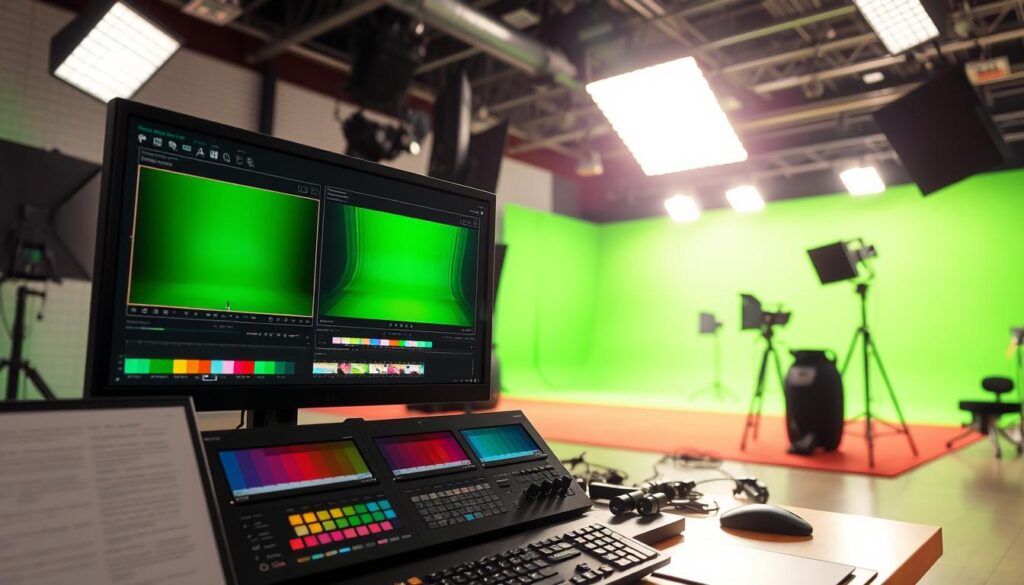
Mastering Greenscreen Keying
Greenscreen keying is essential in video editing for better visual stories. It requires detailed preparation and best practices for success. By mastering keying, editors can make their projects look professional.
Preparing Your Footage for Keying
Getting your footage ready is key for successful greenscreen effects. Here’s what you need to do:
- Lighting: Make sure the lighting is even on the greenscreen to avoid shadows and bright spots.
- Distance: Keep your subjects a few feet from the screen to reduce green spill on them.
- Camera Settings: Use a high-quality camera with the right settings for clear footage.
Best Practices for Greenscreen Effects
Following best practices greatly improves greenscreen results. Keep these in mind:
- Choose the Right Green: Pick a bright, even green backdrop for the best keying.
- Check for Artifacts: Look for any issues in your keyed footage and adjust as needed.
- Layering Techniques: Create depth and realism by using multiple layers and adjusting their transparency.

Enhancing Scenes with 3D Camera Tracker
Using a 3D camera tracker is key in today’s video editing world. It lets creators add visual effects that match the real movements of the camera. This technique changes how editors improve video scenes, making them more engaging for viewers. Mastering this technology can take any project to the next level.
How 3D Camera Tracking Works
The 3D camera tracker works by studying how the camera moves in a scene. It looks at different frames to collect data points. Then, it figures out where the camera is in 3D space. This lets artists put digital elements right where they need to be, mixed with live action.
Applying Tracks to Your Video
To use tracked data to make your video better requires both creativity and skill. Here are steps to use the 3D camera tracker well:
- Import Your Footage: Add your video to DaVinci Resolve and keep it organized.
- Track the Camera Movement: Analyze the footage with the 3D camera tracker to make tracking points.
- Insert Visual Effects: With tracking done, add your visual effects. The 3D camera tracker helps keep these effects in line with the camera’s movement.
- Fine-Tune the Effects: Change the position and size as needed to make the elements look real.
Camera tracking done this way makes content that’s not only visually stunning but also keeps the flow of the project. Editors will see better effects integration without losing the real feel of the footage.
| Step | Description |
|---|---|
| 1 | Import your footage into DaVinci Resolve. |
| 2 | Use the 3D camera tracker to analyze the footage. |
| 3 | Add visual effects that match the tracked data. |
| 4 | Adjust effects to look natural. |
Improving Audio with Fairlight Features
In video production, high-quality audio matters a lot. Fairlight in DaVinci Resolve gives you advanced tools for editing audio. These tools can make dialogues and sound effects much better. Learning how to use them can take your audio quality to the next level.
Understanding Fairlight Audio Tools
Fairlight offers a wide range of audio editing tools. They are for both beginners and pros. You get:
- Integrated Mixer: Control levels and add effects to tracks.
- Clip Effects: Change audio settings for specific parts of a track.
- Equalizer: Adjust sound frequency to improve clarity and tone.
- Dynamic Processing: Keep audio tracks sounding professional.
Mixing and Mastering Audio Tracks
Mixing and mastering are key for high-quality audio tracks. Follow these tips:
- Balance Your Mix: Keep the audio mix even for a full sound.
- Frequency Separation: Use EQ to make each element stand out.
- Automation: Adjust volume and effects over time.
- Final Mastering: Add the finishing touches for that professional sound.
With Fairlight, you can easily improve your video’s audio. Using its tools right can make your audio pop. This will grab your viewer’s attention and keep it.
| Feature | Description | Benefits |
|---|---|---|
| Integrated Mixer | A complete cockpit for real-time adjustments | Improves workflow efficiency and audio clarity |
| Clip Effects | Localized audio adjustments for specified regions | Enhances control over individual sound elements |
| Dynamic Processing | Adjusts volume levels and reduces unwanted peaks | Creates a smoother listening experience |
| Mastering Tools | Final edits for audio across the entire project | Ensures high-quality sound for all playback formats |
Best Practices for DaVinci Resolve Effects
Using DaVinci Resolve effects can make your projects stand out. It’s important to follow best practices for a smooth edit. This keeps your projects organized and high-quality.
Always update the software to get the best performance and new features. Back up your work to protect it. An organized timeline with labeled clips helps avoid confusion.
When using DaVinci Resolve effects, check if they work with your video’s format and resolution. Test the effects on small parts of your video first. This way, you can make changes before applying them to the whole project.
Render your footage in high quality to keep the effects looking good. Don’t overdo the effects; it can make your project look cluttered. Use effects that add to the story you want to tell.
| Best Practices | Description |
|---|---|
| Regular Software Updates | Keep DaVinci Resolve up-to-date for optimal performance and new features. |
| Backup Projects | Protect your work by regularly backing up to avoid data loss. |
| Organized Timelines | Label clips and effects to streamline the editing workflow. |
| Test Effects | Apply effects to smaller sections first for better control and adjustments. |
| High-Quality Renders | Render in high quality to preserve the value of applied effects. |
| Impactful Usage | Choose effects that meaningfully enhance your narrative, avoiding excessive use. |
Conclusion
This article shows the strong points of DaVinci Resolve effects for better video editing. Using color grading, Fusion effects, and VFX techniques can make projects look more appealing. Video editing is more than just cuts and transitions. It’s about telling stories that people feel connected to.
To make creative ideas come to life, it’s crucial to learn these key techniques. From improving audio in Fairlight to greenscreen keying, every feature of DaVinci Resolve is important. By using these methods, video editors can make their projects stand out.
The world of video content is always changing. Staying updated with DaVinci Resolve effects helps creators. Keep practicing and trying new things. Remember, the true art of video editing is in your unique style and vision.
FAQ
What are DaVinci Resolve effects?
DaVinci Resolve effects help users make their videos better. They can do simple things like changing colors. They can also do complex things like adding visual effects and motion graphics. This improves video editing quality.
How does color grading work in DaVinci Resolve?
Color grading in DaVinci Resolve changes your footage’s colors and tones. You use tools like color wheels, curves, and LUTs (Lookup Tables). These allow basic color fixes and advanced grading to make your content look stunning.
What are Fusion effects and how can I use them?
Fusion effects are advanced tools for visual effects and motion graphics in DaVinci Resolve. They use a node-based system for creating effects and animations. To start using Fusion effects, go to the “Fusion” tab and build your effects with nodes.
Can I integrate VFX with live action footage?
Yes! You can combine VFX with live action footage in DaVinci Resolve. Using rotoscoping and 3D camera tracking helps editors mix effects well. This makes your final project look polished and professional.
What are the best practices for using greenscreen keying?
For successful greenscreen keying, prepare your footage well. Ensure the greenscreen is well-lit and shadow-free. Use keying techniques to refine edges and choose suitable backgrounds for clean, professional results.
How does the 3D camera tracker enhance my video editing?
The 3D camera tracker matches effects to camera movement, making your video more realistic. It analyzes your footage to apply effects that look like they’re part of the scene.
Can I improve audio quality using Fairlight features?
Definitely! Fairlight offers a range of audio editing tools. It lets users mix, master audio tracks, and improve dialogue. This helps create high-quality audio for your projects.
What should I keep in mind for using DaVinci Resolve effects effectively?
For effective use of DaVinci Resolve effects, stay organized and backup your projects. Keep your software up to date. Knowing how your video formats work with the software ensures smooth editing and top video quality.


